
How Do You Clean Between Car Seats and Consoles? A Step-by-Step Guide
Keeping the interior of your car spotless can feel like an impossible task, especially when it comes to those tight spaces between the seats and the center console. Dust, crumbs, and debris seem to find their way into the narrowest of gaps, and without the right tools or techniques, it can be frustrating to clean them out. But don't worry—here’s a simple, effective guide to help you clean between your car seats and console like a pro.
Why It’s Important to Clean Between Car Seats and Consoles
Before diving into the how-to, it’s worth noting why this area needs attention. Dirt, crumbs, and food particles not only make your car look untidy, but they can also lead to bad odors or even attract pests. In addition, keeping your vehicle clean helps maintain its value, especially if you ever plan to sell or trade it in. A thorough cleaning, including those hard-to-reach areas, makes a significant difference in the overall look and feel of your car’s interior.
What You’ll Need:
Vacuum with crevice tool attachment
Compressed air canister
Microfiber cloth
Soft brush (like a paintbrush or makeup brush)
Interior cleaner or soapy water
Plastic trim removal tool (optional but helpful)
Slime or putty cleaner (optional for tiny crevices)
Step 1: Vacuum First
Start by removing any large debris using your vacuum cleaner with a crevice tool attachment. This long, narrow nozzle will allow you to reach deep into the gap between your seat and console. Be sure to move your seat back and forth to access all areas. For the best results, keep the vacuum on a low suction setting to prevent it from lifting or damaging any materials, especially if you have leather seats.
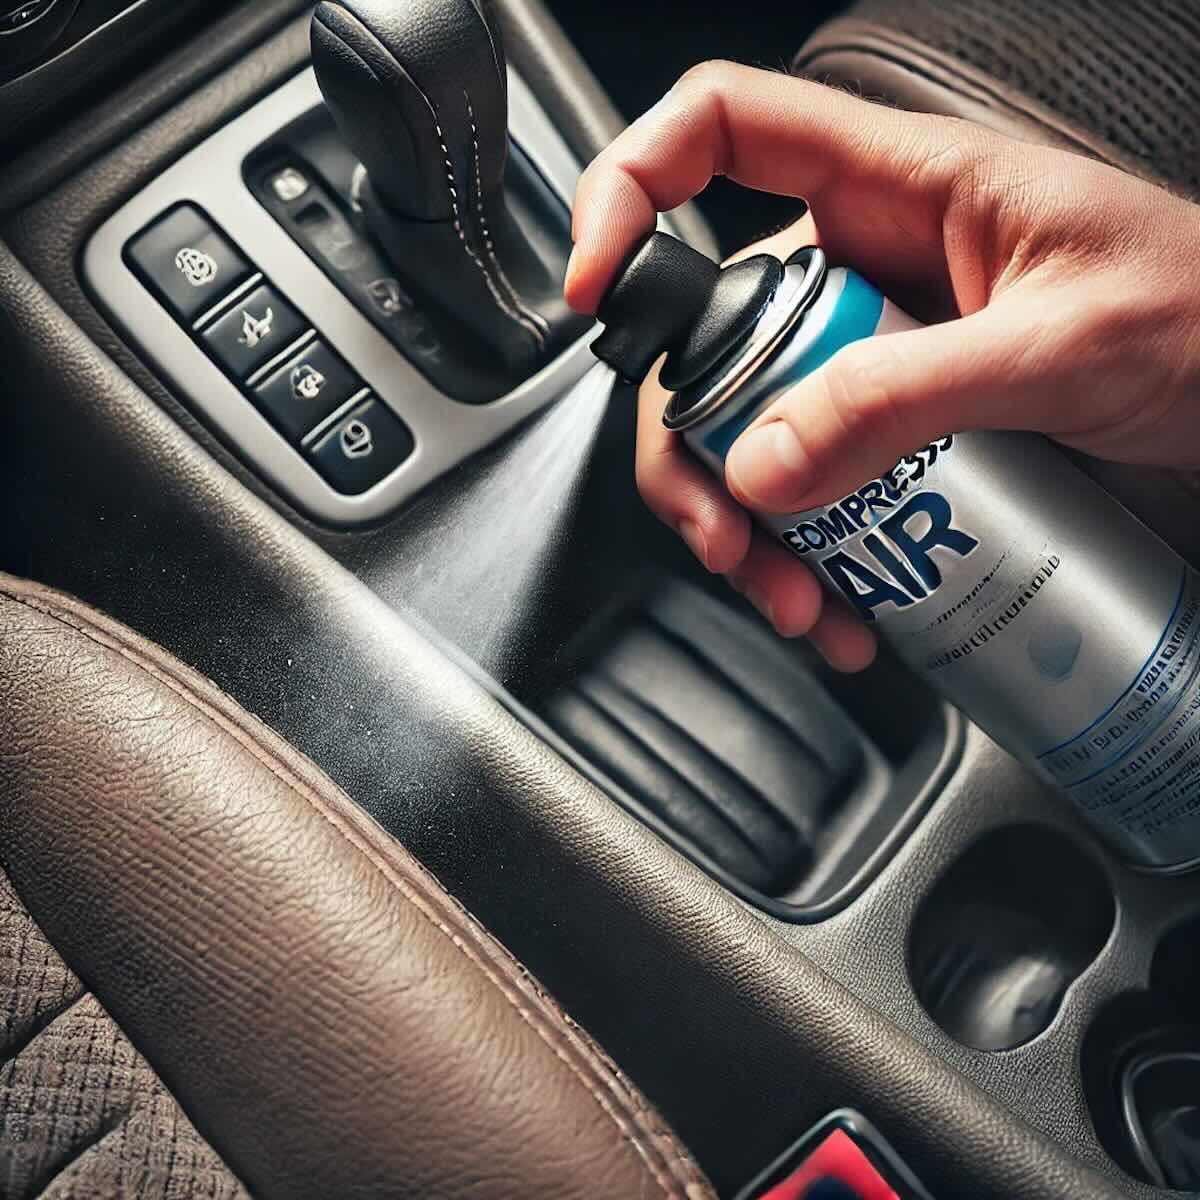
Step 2: Use Compressed Air for Tight Spaces
For those extremely tight spaces that even the crevice tool can’t reach, compressed air is your best friend. Hold the nozzle of the canister close to the gap and blow out any debris that’s stuck. Make sure you aim the air toward the vacuum so you can capture any dislodged particles right away. This is particularly helpful for areas around the gear shift and cup holders where dust tends to accumulate.
Step 3: Loosen Debris with a Soft Brush
Sometimes dirt is stuck in crevices due to static or oily residue. A soft-bristled brush, like a makeup brush or small paintbrush, can help you sweep out the debris. Gently move the brush around in circular motions to lift any stubborn dirt without scratching your car’s interior.
Step 4: Wipe Down Surfaces
Once you’ve removed the loose debris, it’s time to clean the surfaces. Use a microfiber cloth and an interior cleaner or a mixture of soapy water to wipe down the area between the seats and console. Be careful to avoid soaking the area, as too much liquid can seep into electrical components, especially around the console. A damp cloth is usually all you need for a good clean.
Step 5: Try Slime or Putty for Stubborn Spots
For those final, hard-to-reach spots, consider using a slime or putty cleaner. These cleaners are specially designed to pick up dust and small particles from tiny cracks and gaps. Simply press the putty into the space and peel it back—it will collect any leftover debris. Be sure to test a small area first to ensure it doesn’t leave residue.
Step 6: Final Vacuum and Air Out
Once you’ve completed the above steps, give the area one last vacuum to ensure nothing was missed. It’s also a good idea to leave your car windows or doors open for a few minutes to let any odors from the cleaning products dissipate.
Bonus Tip: Prevent Future Messes
To minimize dirt buildup in the future, consider investing in seat gap fillers, which are small inserts that prevent crumbs and items from falling into the space between the seat and console. These can save you a lot of hassle and make your regular car cleaning routine much easier.
Conclusion
Cleaning between your car seats and console doesn’t have to be a tedious task. With the right tools and a step-by-step approach, you can easily tackle this challenging spot and keep your car looking fresh and clean. Regular maintenance of these hard-to-reach areas will ensure your vehicle stays comfortable, hygienic, and ready for your next road trip. So, the next time crumbs find their way into the crevices, you’ll be prepared to clean them out in no time!