
How do you condition leather in a car?
Leather seats add a luxurious touch to any car, but without proper care, they can lose their luster, become cracked, or show wear over time. Regular conditioning is key to maintaining that soft, supple texture and ensuring your car’s interior remains pristine. Whether you’re a DIY enthusiast or someone who prefers professional detailing, understanding how to condition leather properly can make all the difference.
Why Conditioning Leather Is Important
Leather is a natural material that needs hydration to prevent drying out and cracking. Over time, exposure to sunlight, heat, and daily wear can strip the natural oils from the leather. Conditioning restores these oils, helping to preserve the material’s look and feel while extending its lifespan.
Steps to Condition Leather in a Car
1. Gather Your Materials
Before starting, you’ll need:
A high-quality leather cleaner
A leather conditioner (ensure it's suitable for automotive leather)
Microfiber towels
A soft-bristle brush (optional, for cleaning dirt from crevices)
2. Clean the Leather
Conditioning dirty leather can trap debris, so cleaning is the first step.
Vacuum the Seats: Use a soft brush attachment to remove loose dirt and debris.
Apply Leather Cleaner: Spray a small amount of leather cleaner onto a microfiber towel or directly onto the leather. Gently rub in circular motions to lift dirt.
Use a Brush for Crevices: If necessary, use a soft-bristle brush to clean seams and crevices.
Wipe Dry: Use a clean microfiber towel to remove any residue.
3. Test the Conditioner
Before applying the conditioner, test it on a small, inconspicuous area to ensure it doesn’t discolor the leather. Wait a few minutes and check the result.
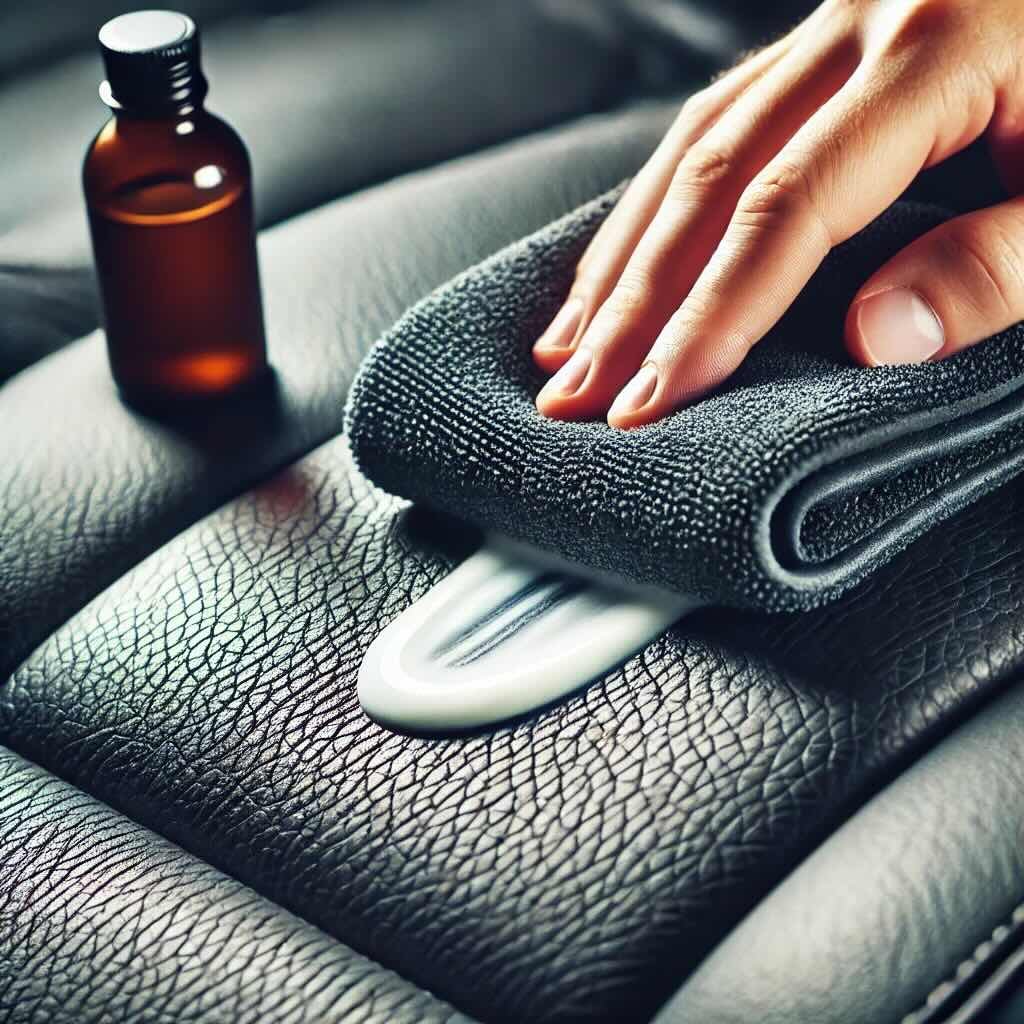
4. Apply the Leather Conditioner
Once your leather is clean and dry:
Use a Small Amount: Squeeze a small amount of leather conditioner onto a microfiber towel.
Work in Sections: Apply the conditioner to one section of the seat at a time using circular motions.
Focus on Heavily Used Areas: Pay extra attention to areas like the driver’s seat, which tends to see more wear.
5. Allow the Conditioner to Absorb
Let the conditioner sit for about 15-30 minutes (refer to the product instructions). This allows the leather to absorb the oils and nutrients.
6. Buff the Leather
After the conditioner has been absorbed:
Use a clean microfiber towel to buff the surface. This removes any excess conditioner and leaves the leather with a natural sheen.
Tips for Maintaining Leather Seats
Condition Regularly: Condition your leather every 3-6 months, depending on the climate and use.
Avoid Harsh Chemicals: Never use household cleaners or products not designed for leather.
Protect from Sunlight: Use sunshades or park in shaded areas to prevent UV damage.
Wipe Spills Immediately: Quickly clean up spills to avoid staining.
Use a Professional Service: For deep cleaning and conditioning, consider hiring an auto detailing service.
Benefits of Proper Leather Conditioning
Enhanced Appearance: Conditioning restores the leather’s natural beauty, making your interior look like new.
Increased Durability: Regular maintenance prevents cracks, peeling, and other signs of aging.
Better Comfort: Conditioned leather feels softer and more inviting for you and your passengers.
Final Thoughts
Leather seats are a long-term investment in your car’s value and aesthetics. With proper conditioning, you can keep them looking and feeling luxurious for years to come. Whether you choose to handle the process yourself or work with a professional detailing service, the key is consistency and using the right products.