
What Are the Steps to Detailing a Car?
Detailing a car is more than just a wash—it’s about restoring, enhancing, and protecting a vehicle’s appearance. Whether you're detailing for the first time or you're a car enthusiast looking to step up your game, understanding the steps is essential for achieving a professional-quality result. This guide will walk you through each phase of the car detailing process, highlighting the critical actions that elevate an ordinary wash to an exceptional shine.
1. Pre-Wash: Prepare for the Detail
Before diving in, it’s essential to set up the detailing area and gather all necessary supplies. A shaded area, free of direct sunlight, prevents soap and cleaners from drying too quickly, reducing the risk of spots or streaks.
Gather:
Two buckets (one for soap and one for rinsing)
Quality car wash soap
Microfiber mitts and towels
Detailing brushes
Wheel cleaner and brushes
2. Wash the Wheels First
Wheels are often the dirtiest part of a vehicle, covered in brake dust, road grime, and other contaminants. Cleaning them first prevents grime from splashing onto an already clean surface.
Apply a wheel cleaner and let it sit to break down brake dust and grime.
Use wheel brushes to scrub each wheel thoroughly, paying special attention to lug nuts and rims.
Rinse off with water, making sure no cleaner residue remains.
3. Rinse the Car Thoroughly
Rinsing removes loose dirt and debris, reducing the risk of scratches during washing. Use a hose with a moderate-pressure nozzle to rinse the vehicle from top to bottom, allowing dirt to flow off rather than settle onto the paint.
4. The Two-Bucket Wash Method
The two-bucket method helps prevent dirt from transferring back onto your vehicle’s surface, which can cause scratching.
Fill one bucket with water and car wash soap, and the other with plain water for rinsing.
Dip a microfiber wash mitt into the soapy water and gently wash the car, working from the top down.
Rinse the mitt in the plain water bucket after each section to keep it clean.
5. Decontaminate with Clay Bar Treatment
Even after washing, contaminants can cling to the paint. Using a clay bar helps remove this embedded grime, leaving the surface ultra-smooth and ready for polishing.
Apply a clay lubricant to a small section of the paint.
Gently rub a clay bar over the lubricated area until it glides smoothly.
Wipe off any residue with a microfiber towel and continue until the entire vehicle is decontaminated.
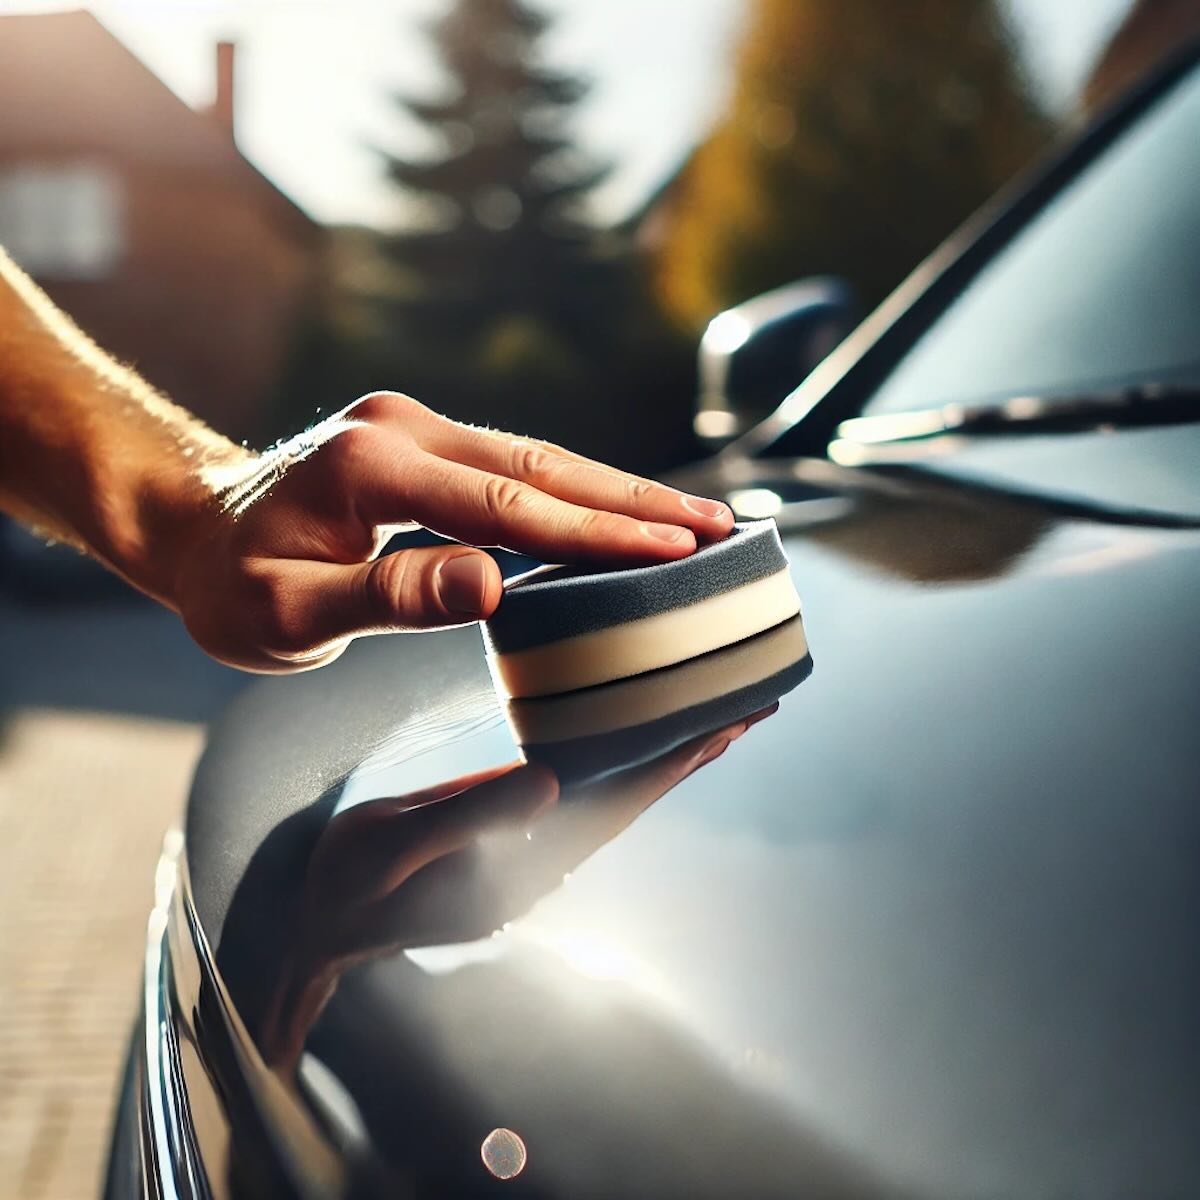
6. Polishing for a Brilliant Shine
Polishing removes minor imperfections, swirl marks, and oxidation, enhancing the depth and gloss of your vehicle's paint.
Apply a small amount of polish to a polishing pad or machine.
Work on one section at a time, using light to moderate pressure, until the polish breaks down and leaves a mirror-like finish.
Wipe off any remaining residue with a clean microfiber towel.
7. Seal and Protect with Wax or Sealant
To preserve that freshly polished look, apply a layer of wax or paint sealant for added protection and shine.
Apply a thin, even layer of wax or sealant to the car’s surface.
Let it cure according to the product's instructions before buffing it off with a microfiber towel.
Wax provides a deep gloss, while sealants offer long-lasting protection; choose based on your needs.
8. Detail the Interior
With the exterior shining, turn your attention to the interior. Car interiors see plenty of traffic, so a thorough clean is crucial.
Vacuum all carpets, seats, and floor mats.
Use an interior cleaner or all-purpose cleaner on dashboards, door panels, and consoles.
Apply a fabric or leather conditioner to protect seats and keep materials soft.
9. Windows and Glass Cleaning
Clear windows are essential for safety and appearance. Use a streak-free glass cleaner for a crystal-clear finish.
Spray glass cleaner on a microfiber towel and clean windows inside and out.
Wipe in one direction on the outside and another inside to easily identify streaks.
10. Final Touches: Tires, Trim, and Headlights
The final steps add polish to your detailing job, making it truly stand out.
Apply tire dressing to make the rubber look new and prevent cracking.
Use a trim restorer on faded plastic or rubber trim.
Polish headlights if they appear foggy to restore clarity and improve nighttime visibility.
Additional Tips for Car Detailing
Use the Right Tools: Quality microfiber towels, brushes, and applicators reduce the risk of scratches and improve results.
Avoid the Sun: Direct sunlight can dry soap, wax, and cleaners too quickly, causing streaks and making them harder to remove.
Work in Small Sections: Breaking up tasks into smaller areas helps you stay organized and prevents products from drying out before they’re wiped off.
Conclusion
Car detailing requires time, patience, and a bit of elbow grease, but the results speak for themselves. By following these steps, you’ll not only keep your vehicle looking its best but also extend its longevity. Whether you’re detailing your car for personal satisfaction or preparing it for sale, the investment in time and effort pays off in appearance and value.